
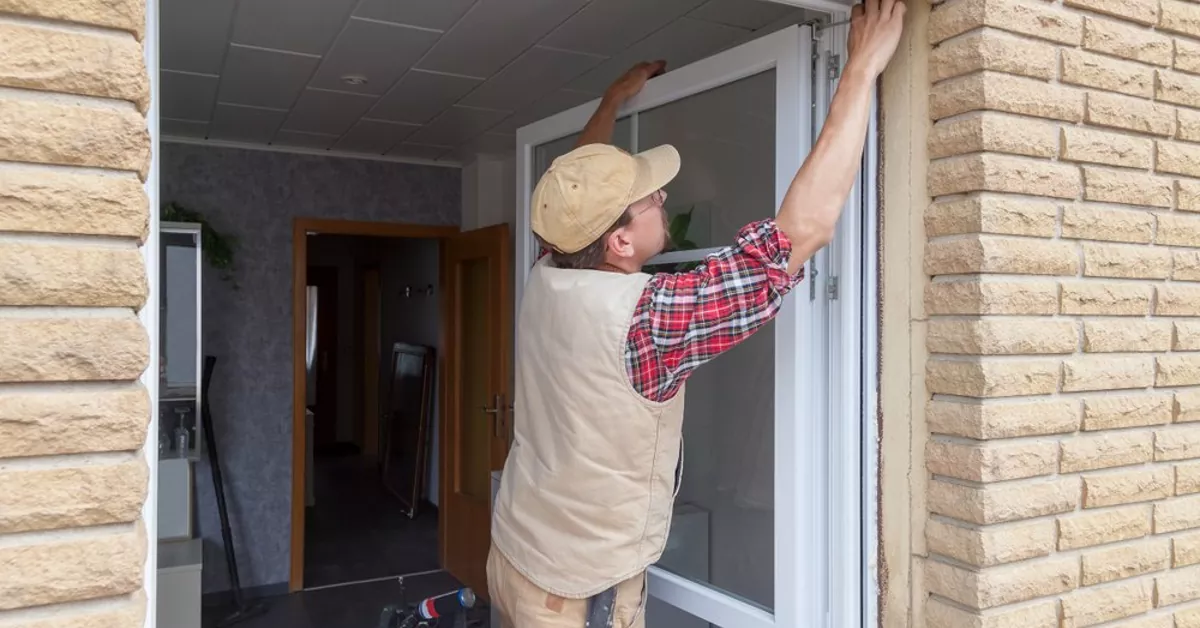
A window can look simple from across the room. Then the trim comes off, the old frame appears, and suddenly the project feels much bigger.
That is why DIY window replacement starts with preparation rather than a pry bar. A successful project depends on choosing the right replacement window, measuring carefully, preparing the opening, and creating a reliable seal.
For a straightforward replacement, a careful homeowner may be able to handle the work. More complicated openings, structural damage, historic windows, or unfamiliar installation systems may call for professional help. Manufacturer instructions and local building requirements should always guide the project.
Key Takeaways
- Accurate measurements are the foundation of a proper window replacement.
- The opening should be clean, sound, level, and ready before the new window goes in.
- Shims, fasteners, flashing, sealant, and suitable insulation all have important roles.
- Professional installation can be the better choice when the opening or window presents unusual challenges.
What Is DIY Window Replacement?
DIY window replacement means removing an existing window and installing a new replacement unit without hiring a contractor to perform the installation.
The work usually involves measuring the opening, removing the old window, inspecting the frame, positioning the new unit, securing it, sealing gaps, and testing its operation.
The exact process depends on the window type and installation method. Some replacement windows fit within an existing frame, while others require more extensive removal and preparation.
The important lesson for beginners is simple: the window should not be forced into an opening that is too small or poorly prepared.
Start With the Right Window and the Right Measurements
Before ordering anything, the existing opening needs to be measured carefully.
A common approach is to measure the width at the top, middle, and bottom. Height should also be measured at multiple points. The smallest relevant measurement should be recorded because the opening may not be perfectly uniform.
Each window should be measured individually. Two windows that appear identical can have slightly different openings because of previous construction or settling.
A Simple Measurement Framework
Use this Measure, Inspect, Confirm framework before purchasing the replacement.
- Measure the width and height at several points.
- Inspect the frame, sill, jambs, and surrounding area for damage.
- Confirm the measurements against the manufacturer’s installation requirements.
A steel tape measure and level are useful for this stage. Diagonal measurements can also help identify whether an opening is square.
If the opening has rot, significant damage, or unusual dimensions, stopping before ordering the window can prevent an expensive mistake.
Gather the Window Replacement Tools
Having the tools ready makes the project calmer and safer.
Typical window replacement tools can include:
Tool or material | Simple purpose | Beginner reminder |
Tape measure | Checks opening dimensions | Measure more than once |
Level | Checks alignment | Check during installation |
Pry bar | Helps remove old components | Pry gently |
Utility knife | Cuts old caulk and sealant | Keep hands clear |
Drill and bits | Installs fasteners | Use the correct bit |
Caulk gun | Applies sealant | Maintain a consistent bead |
Shims | Helps position and support the window | Avoid forcing the frame |
Flashing tape | Helps manage water around the opening | Follow the window instructions |
Window-compatible foam | Helps insulate gaps | Avoid overfilling |
Safety glasses and gloves | Protect during removal and installation | Wear appropriate protection |
The specific materials can vary by window design and manufacturer. The installation instructions should take priority over a generic tool list.
Prepare the Work Area Before Removing the Old Window
Window removal is often messier than homeowners expect.
Furniture, curtains, decorations, and other items should be moved away from the work area. The floor can be protected before removal begins.
Safety becomes especially important when working around older painted surfaces. Homes built many decades ago may require additional precautions because older paint can contain lead. If that possibility exists, appropriate safety procedures should be followed before disturbing painted materials.
The goal is not to rush the removal. It is to take the old window out without creating unnecessary damage around the opening.
How to Remove an Old Window
The removal process varies by window style. Existing stops, fasteners, sashes, trim, or other components may need to be removed first.
A utility knife can help score old paint or caulk where components meet. A pry bar can then be used carefully where appropriate.
Once the old window is out, the opening should be cleaned thoroughly. Old caulk, debris, loose material, and damaged components should not simply be covered by the new window.
This is also the moment to inspect the opening.
If there is moisture damage, rot, structural deterioration, or another significant problem, the installation should pause until the issue is properly addressed.
Install the Replacement Window Carefully
The new window should be positioned according to its manufacturer’s instructions.
Before permanent fastening, the unit needs to be checked for proper alignment. A level helps confirm that the window is positioned correctly. Shims can help maintain alignment and provide support where required.
The basic sequence is:
- Prepare the opening and installation surface.
- Apply the specified sealant or flashing system.
- Position the replacement window.
- Check that it is level, plumb, and square.
- Use shims where required.
- Install the specified fasteners.
- Recheck alignment as the window is secured.
- Complete the required sealing and insulation.
The window should remain easy to operate during the process. If the frame becomes distorted or the sash binds, something may need adjustment before installation continues.
Window Sealing and Insulation Matter
A replacement window is not finished simply because it is screwed into place.
Gaps around the unit need to be addressed using materials appropriate for the installation. Depending on the size and location of a gap, the manufacturer’s system may call for sealant, backer material, flashing, or low-expansion window foam.
Too much foam can also create problems. Expansion pressure can affect the frame and interfere with window operation.
A good installation creates a controlled transition between the window, opening, and surrounding wall. That is why sealing should be treated as part of the installation rather than an optional finishing step.
Common Window Installation Mistakes to Avoid
Many problems begin before the window is even installed.
Practice | When it helps | Simple cue | Common mistake |
Measure several points | Every replacement | Record the smallest suitable measurement | Assuming one measurement is enough |
Inspect the opening | Before installation | Look for moisture and damage | Covering problems with the new window |
Use a level | During fitting | Check alignment repeatedly | Trusting the opening to be square |
Use proper shims | During positioning | Support the frame as required | Forcing the window into place |
Follow manufacturer instructions | Throughout installation | Keep instructions nearby | Using a generic method for every window |
Seal the perimeter | After positioning | Follow the specified sealing system | Leaving gaps unsealed |
Another common mistake is treating every window as the same project.
A simple replacement in a sound opening is different from a damaged frame, unusual wall assembly, or historic property. The more complicated the conditions, the more valuable professional experience becomes.
A Realistic Beginner Example
Consider a homeowner replacing an aging bedroom window.
The homeowner begins by measuring the opening and checking the frame. The measurements appear consistent, and the surrounding material is sound.
After gathering the tools, the old window is removed carefully. The opening is cleaned, and the homeowner checks it again before bringing in the replacement.
The new unit is positioned and supported with shims. The homeowner checks the level and operation before completing the fasteners.
Finally, the perimeter is sealed according to the manufacturer’s instructions. The window opens, closes, and locks properly.
That final check matters. A window can look perfectly installed while still having alignment or sealing problems.
When Should a Homeowner Hire a Professional?
DIY installation can make sense for a capable homeowner working on a straightforward replacement.
Professional window installation becomes more appealing when the project involves:
- Structural damage around the opening
- Significant moisture or rot
- Unusual window sizes or installation conditions
- Difficult exterior access
- Historic windows or older construction
- Uncertainty about flashing or weatherproofing
- Local requirements that the homeowner cannot confidently address
For Detroit homeowners seeking Residential Window Replacement Detroit MI, professional assistance can also reduce the uncertainty that comes with complicated openings or unfamiliar installation systems.
A professional can assess the existing condition, help determine the appropriate replacement approach, and handle installation when the project requires specialized experience.
Final Checks Before Calling the Project Finished
The final inspection should be slow and practical.
The window should open and close smoothly. Locks should engage correctly. The frame should remain properly aligned. Visible gaps should be addressed according to the installation instructions.
The surrounding trim and exterior finishes should also be checked for signs of incomplete sealing.
A homeowner should never consider the project finished simply because the window looks good from inside the room. The installation must also perform as intended.
Conclusion
DIY window replacement can be a rewarding home improvement project when the opening is suitable and the homeowner is prepared to work carefully.
The most important skills are not speed or strength. They are accurate measuring, careful removal, proper alignment, appropriate sealing, and knowing when a project has moved beyond a beginner’s comfort level.
For homeowners who prefer professional help with residential window replacement and installation in Detroit, In The D Construction can assist with projects that require experienced planning and installation.
In The D Construction can be contacted at 313-400-3520 or mailto:info@inthedconstruction.comto discuss a window replacement project.
Frequently Asked Questions
1. Can a beginner replace a window themselves?
A beginner may be able to handle a straightforward replacement with careful preparation and the correct tools. More complex openings may require professional assistance.
2. How should a homeowner measure for a replacement window?
Measure the width and height at multiple points and record the appropriate smallest measurements. Each opening should be measured individually rather than assuming identical windows have identical dimensions.
3. What is the most important part of window installation?
Accurate fitting and proper weatherproofing are both critical. The window should be correctly aligned, securely supported, and sealed according to the manufacturer’s instructions.
4. When is professional window installation a better choice?
Professional installation is worth considering when the opening has structural or moisture damage, access is difficult, the property is historic, or the homeowner is uncertain about the installation requirements.
5. Does In The D Construction provide window replacement services?
Yes. In The D Construction provides residential window replacement and window installation services for Detroit-area homeowners who prefer experienced professional assistance.